Why Your CRISPR Experiments Fail—and What You Can Do About It
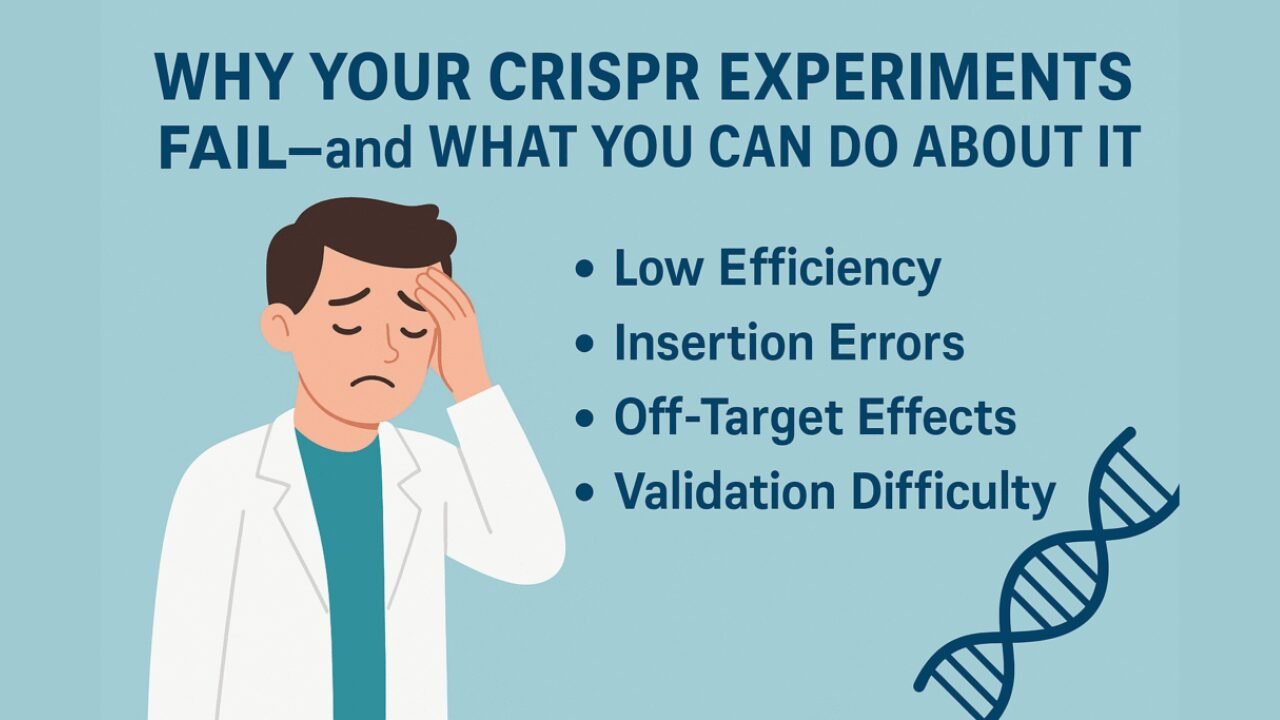
CRISPR is powerful—but fragile. One slight misstep, and your entire experiment collapses. Failed insertions, no signal, or unstable expression are more common than you think. The promise of precise gene editing has become central in modern biology, but execution remains tricky.
You must rethink your CRISPR knockin approach to fix it, starting at the source.
Mistake #1 – You’re Not Targeting the Right Cell State
In CRISPR gene editing, timing is everything—especially for homology-directed repair (HDR). Many failed knock-in experiments trace back to a straightforward issue: the cells weren’t in the right cell cycle phase.
HDR is most active during S and G2 phases. Trying to force knock-in edits outside that window significantly lowers success rates.
Synchronization methods like thymidine (S-phase) or nocodazole (G2/M) can increase HDR chances. Even adjusting transfection timing to coincide with DNA synthesis can make a big difference.
📊 Summary: Knock-in success depends on hitting a narrow HDR window. Miss it, and your edit reverts to messy NHEJ.
⚠️ Real-World Pitfall: The “One-Tube” Mentality
Many researchers treat transfection as a simple plug-and-play process—mix cells and reagents, then go. Cells in a mixed-cycle population may exhibit unpredictable behavior. A PhD student once reported a 0% knock-in success rate despite flawless PCR setup. The culprit? Cells were 80% in G1 due to stress during thawing.
✅ Lesson: Perform a cell cycle analysis or pre-sync your culture before editing. HDR won’t happen unless your cells are prepared to cooperate.
Mistake #2 – Your Donor Design Is Holding You Back
A poorly designed donor template will derail your experiment even with excellent guides.
- Homology arms that are too short or misaligned don’t support integration. Stick to 500–800 bp per side.
- Choose template format wisely: ssODN for point mutations, plasmid for larger constructs.
- Watch out for repetitive elements or hidden splice sites that disrupt expression.
💡 Pro Tip: Use PCR-based donor libraries to test different insert designs before scaling. A few extra hours in design can save weeks of troubleshooting.
📊 Summary: Your template is your blueprint. A flawed design ensures flawed results.
⚠️ Real-World Pitfall: Misjudging Donor Complexity
A postdoc at a cancer biology lab attempted to knock in a large fluorescent reporter cassette into a fragile locus using a linear dsDNA donor with 200 bp arms. Despite multiple electroporation rounds, no integration occurred. Later analysis revealed the donor was degraded during delivery and too complex for the cell line to process.
✅ Lesson: The bigger the insert, the more strategic your donor must be. Consider circular templates with backbone modifications for complex cassettes, or switch to a two-step integration strategy.
Mistake #3 – You’re Underestimating NHEJ
Many failures occur not because HDR didn’t work, but because NHEJ took over.
NHEJ is fast and error-prone. Without intervention, it dominates the repair process and ruins precision edits.
To steer cells toward HDR:
- Suppress NHEJ using inhibitors
- Use synchronized cultures
- Optimize your donor’s integration profile
🚀 This is where EZ-HRex™ comes in: it modulates repair dynamics to favor HDR, reaching up to 84% knock-in efficiency even in hard-to-edit lines.
📊 Summary: If you’re not actively shifting the HDR/NHEJ balance, you rely on luck, not science.
⚠️ Real-World Pitfall: Clean PCR, Dirty Outcome
In one case, a lab got clear PCR bands indicating integration but no gene expression. Sequencing revealed the donor had partially inserted—NHEJ had “jammed” it into the site without completing both arms. The result? A dysfunctional allele, and months wasted chasing phantom expression.
✅ Lesson: PCR alone can’t expose NHEJ sabotage. Without HDR support, even the best donor ends up broken or silent.

Mistake #4 – You’re Not Validating Enough
A positive PCR doesn’t mean your edit is functional.
Many labs stop validation too early. But a real knock-in requires multi-layered checks:
- Junction PCR for insertion points
- Sequencing to confirm integrity
- Western blot or fluorescence imaging to verify protein expression
- Functional assays for biological behavior
📊 Summary: Validation isn’t extra work—it’s how you protect your science from collapse.
⚠️ Real-World Pitfall: The Phantom Signal
A researcher published data based on a green fluorescence signal post-editing. Everything looked good—except it wasn’t. Follow-up qPCR and protein studies showed the fluorescence was from episomal expression, not knock-in. The donor had entered the cell but never integrated.
✅ Lesson: Don’t trust just one readout. Transient expression can mimic actual edits. Use at least two orthogonal validation methods to confirm real, stable integration.
Mistake #5 – You’re Treating Knock-In Like Knock-Out
Knock-outs are easy: delete a gene, observe loss of function. Knock-ins? Far more complex.
Too often, researchers use the same protocols for both. The result?
- Mislocalized inserts
- Epigenetic silencing
- No expression after a few passages
You must consider:
- Chromatin context
- Regulatory regions
- Long-term stability
📊 Summary: Treat knock-in like knock-out, and you’re not doing precision biology—you’re taking unnecessary risks.
⚠️ Real-World Pitfall: The Case of the Silent Reporter
A team created a knock-in reporter line and observed expression at the outset. But after 10 passages, the signal disappeared. It wasn’t degradation—it was position effect silencing from an uncharacterized heterochromatin region. Their protocol had been copied from a successful knock-out design with no modifications.
✅ Lesson: Knock-in requires planning beyond sequence. Where your gene lands—and how it interacts with epigenetic machinery—can make or break your model.

📖 CRISPR Knock-In: Frequently Asked Questions
Q1: Why does my knock-in fail even when PCR shows success?
➡️ Because PCR alone can’t confirm proper integration. You might detect episomal DNA or partial inserts. Combine PCR with sequencing, protein-level validation, and functional assays to avoid false positives.
Q2: Can I use the same protocol for knock-out and knock-in?
➡️ Not if you’re aiming for stable, functional expression. Knock-in requires extra attention to insertion sites, regulatory elements, and expression context—none of which matter in a standard knock-out.
Q3: What’s the fastest way to improve HDR?
➡️ Synchronize your cells to S/G2 phase, inhibit NHEJ, and ensure your donor design matches the insertion task. HDR isn’t just about timing—it’s about creating the right conditions across the board.
Q4: How do I choose the right cell line for knock-in?
➡️ Not all cell lines are created equal. Some have higher HDR efficiency, while others are resistant to integration. Consider previous literature, consult your provider, and test for transfection tolerance before committing.
Q5: What validation methods are most reliable for knock-in?
➡️ Start with junction PCR and Sanger sequencing. Follow up with Western blot, fluorescence microscopy, or functional rescue assays. The more layers you add, the more confidence you’ll have in your result.
READ MORE
✅ 📋 Checklist: 5 Rules to Boost Your Knock-In Success
Think long-term:
Choose stable insertion sites and plan for expression across multiple passages.
Time it right:
Synchronize your cells to the HDR-friendly S/G2 phase before editing.
Build a better donor:
Design templates with proper homology arms, minimal repeats, and context-specific structure.
Tame NHEJ:
Utilize NHEJ inhibitors and HDR enhancers to modify the DNA repair balance.
Validate thoroughly:
Combine PCR, sequencing, protein detection, and functional assays.