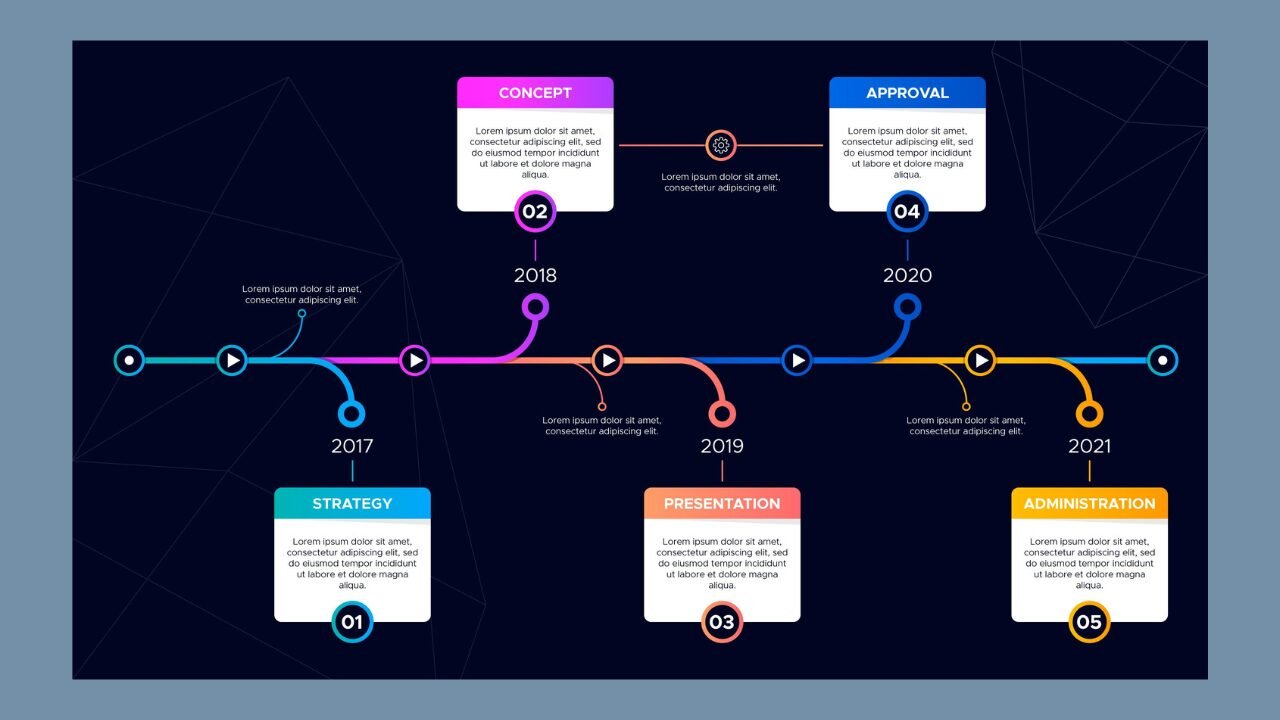
The Ultimate Guide to Using a Timeline Maker for Professional Projects

Creating clear, visually appealing timelines is essential for project managers, educators, and business professionals. A timeline maker like Office Timeline simplifies this process by turning complex data into easy-to-understand visuals. Whether you’re tracking milestones, planning events, or presenting progress reports, a well-designed timeline enhances communication, aligns teams, and keeps projects on track.
In today’s fast-paced work environments, timelines play a critical role in decision-making, resource allocation, and reporting. This guide explores the benefits of using a timeline maker, the key features to look for, a step-by-step creation process, and best practices to maximize its impact.
Why Timeline Makers Are Essential for Professionals
Traditional methods, such as spreadsheets, word processors, or slide decks, often fall short when it comes to effectively communicating a project’s story. They lack clarity, visual appeal, and flexibility. Modern timeline software addresses these challenges and offers several compelling benefits:
1. Time Efficiency
Manually formatting a timeline using PowerPoint or Excel can take hours. A dedicated timeline maker automates this process, allowing users to create polished timelines in just minutes. Project managers report saving up to 3–5 hours per timeline while achieving better clarity and structure.
2. Enhanced Clarity
Timelines simplify complex information. They help team members, stakeholders, and clients instantly grasp the sequence of tasks, dependencies, and critical deadlines. Studies show that visuals are processed up to 60,000 times faster than text, and incorporating timelines can reduce miscommunication and misalignment by as much as 35%.
3. Professional Presentation
Whether you’re pitching a proposal, updating executives, or teaching a lesson, visual timelines make a stronger impression. Customizable templates ensure brand consistency while adding polish and credibility to your work. Financial analysts have found that well-designed visuals—especially timelines—can increase proposal approval rates by up to 22%.
Key Features to Look for in Timeline Software
Not all timeline makers are created equal. When choosing one for professional use, make sure it includes the following essential features:
User-Friendly Interface
The tool should be intuitive and easy to use without requiring extensive training. Look for drag-and-drop capabilities, real-time previews, and innovative formatting options that auto-adjust your timeline as you input or change data.
Customization Options
Branding is essential in professional settings. Choose software that offers flexible customization options—such as color palettes, fonts, layout styles, icons, and progress markers—so your timeline accurately reflects your company’s style or personal preferences.
Integration Capabilities
A strong timeline maker integrates seamlessly with the tools you already use, such as Microsoft PowerPoint, Excel, Teams, Google Workspace, and various project management platforms like Trello or Asana. Integration saves time and enhances workflow continuity.
Export and Sharing Options
Flexibility in exporting is crucial. Your timeline maker should allow you to export timelines as high-resolution images, PDFs for reports, PowerPoint slides for presentations, or even interactive formats for web-based sharing and collaboration.
How to Create a Timeline in 6 Simple Steps
Creating a timeline with a tool like Office Timeline is straightforward, even for those with no prior experience in creating timelines. Follow these six steps for a professional result:
Step 1: Define Your Objective
Clarify the purpose of your timeline. Is it for tracking project milestones, visualizing a historical sequence, outlining a product launch, or managing events? Your objective will determine the most suitable layout and elements.
Step 2: Gather and Organize Key Dates
Before starting, collect all necessary information. This includes important dates, tasks, deadlines, phases, and dependencies. Organize this data in a spreadsheet or list format to facilitate easier and more accurate input.
Step 3: Select a Template
Select a template that aligns with your objective. A Gantt chart is a crucial tool for managing projects. A vertical timeline is ideal for history or educational use, while a swimlane diagram is excellent for managing multiple teams or parallel workflows.
Step 4: Input and Customize Data
Insert your data points—milestones, tasks, or events—into the software. Customize colors, fonts, and layout to match your brand identity or audience expectations. Office Timeline provides a range of templates and customization tools to simplify this process.
Step 5: Refine for Readability
A cluttered timeline defeats the purpose. Use spacing to avoid overlap, apply icons or labels to highlight key phases, and ensure text is legible. Add progress bars or percentage markers to indicate task completion if needed.
Step 6: Share and Update
Export the final timeline in your preferred format, such as PowerPoint, PDF, image, or web. Use cloud integration for real-time collaboration and update your timeline regularly to reflect progress or changes.
Best Practices for Maximizing Impact
To get the most from your timeline maker, consider the following tips:
- Use concise labels: Keep milestone titles short and direct.
- Color-code phases: This helps differentiate between project stages.
- Highlight critical paths: Make deadlines and deliverables stand out.
- Update frequently: A timeline should be a living document, not a one-time graphic.
- Test for accessibility: Ensure your timeline is readable for all users, including those with visual impairments.
READ MORE
Conclusion
A timeline maker is more than just a graphic tool—it’s a professional asset that transforms raw data into compelling narratives. Whether you’re managing a project, delivering a report, or teaching students, timelines help make complex information simple and engaging.
With software like Office Timeline, you can quickly create visually appealing timelines that are not only functional but also strategic and effective. Investing in the right timeline maker empowers you to communicate with clarity, enhance decision-making, and present your work with professionalism.
Ready to get started? Try Office Timeline and see how easy it is to build stunning, effective timelines for any project or presentation.
