Step-by-Step Guide to Applying Insulating Foam Correctly
Are rising energy costs putting pressure on the household budget? Insulating foam offers a proven way to seal gaps and stop unwanted drafts. When applied correctly, it strengthens comfort and lowers heating and cooling waste.
Many problems, however, come from poor preparation or careless spraying. Clear steps and proper tools make all the difference. Safety and timing also play a key role in lasting results.
This guide explains the full process and shows how to achieve strong coverage and dependable performance. Keep on reading!
Understand the Area That Needs Insulation
Begin by checking the space where foam will be applied, such as attics, crawl spaces, or wall cavities. Look for cracks, signs of moisture, and loose materials that could affect adhesion. Careful inspection prevents waste and uneven coverage later.
Measure the area to estimate the amount of foam required. Remove old insulation if it is damaged or moldy. A clean, stable surface provides the foam with a firm base for proper bonding.
Prepare the Surface Properly
Good preparation has always been the foundation of durable artistry. Surfaces must be dry, free of dust, and clear of grease or debris. Use a stiff brush or vacuum to remove loose particles.
Wipe away any moisture and allow the surface to dry fully before spraying. Cover nearby windows, wiring, and fixtures with plastic sheets.
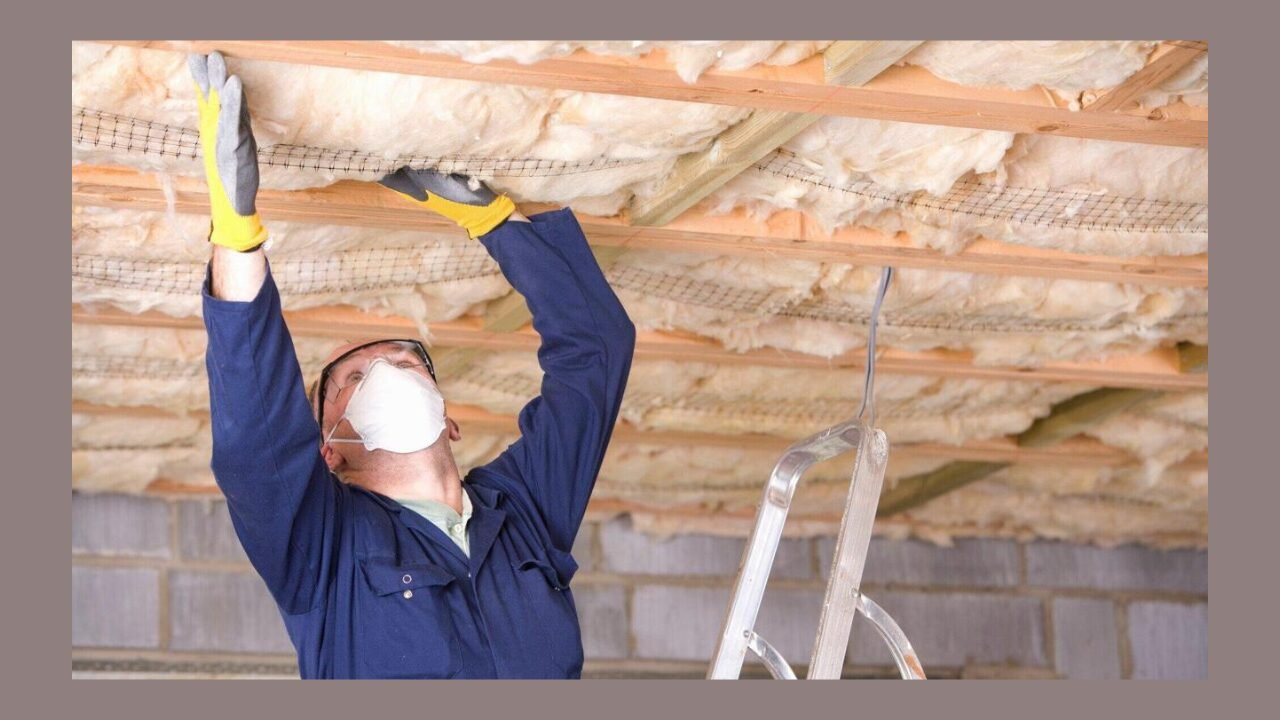
Follow Essential Safety Measures
Safety should never be treated as an afterthought during insulation work. Protective gear shields the skin, eyes, and lungs from irritation. Wear gloves, long sleeves, and safety goggles before opening the foam container.
A respirator mask is important when working in enclosed areas with limited airflow. Keep windows open or use fans to improve ventilation. Always read the manufacturer’s instructions to understand safe handling and curing times.
Apply the Foam Evenly and carefully
Shake the foam can well and attach the applicator straw securely before use. Hold the can upright and test the spray on scrap material to control the flow.
When learning how to do spray foam insulation, steady hand movement and patience are key. Apply the foam in thin layers rather than one thick coat. Allow each layer to expand and settle before adding more.
Control Expansion and Trim Excess
Insulating foam expands quickly once it leaves the nozzle. Understanding this expansion prevents overfilling and messy results. Fill cavities only about halfway to allow room for growth.
Watch the foam as it expands to ensure it does not push against drywall or frames. After the foam has cured completely, trim any excess with a utility knife. Smooth edges make the surface ready for paint or additional finishing.
Inspect and Seal Remaining Gaps
After trimming, inspect the area once more for missed spots or small cracks. Even minor openings can reduce the overall effectiveness of the insulation. Use a small amount of foam to seal thin gaps around pipes and wiring.
Check corners and joints where air leaks often hide. Allow the final application to cure as directed by the manufacturer. A careful final check ensures improved coverage and reduced energy loss.
READ MORE
Learning How To Apply Insulating Foam Correctly
Applying insulating foam correctly requires attention to detail, steady work, and adherence to proven methods. Careful inspection, thorough preparation, and proper safety steps create a strong foundation for success.
Even application and controlled expansion help avoid waste and improve performance. A final inspection ensures no gaps remain and supports lasting energy savings. By following each step in order, durable and efficient insulation can be achieved with confidence.
Did you like this guide? Great! Please browse our website for more!