Plastering Made Easier: Essential Tips for Beginners and DIY Projects
Have you ever wondered how people make walls look so smooth and neat with plaster?
It might seem tricky at first, but plastering can be easy when you know the proper steps. Whether you want to fix a small wall crack or start a DIY project, understanding some key tips will help you get a professional finish.
This blog will share simple techniques and advice to make plastering a straightforward and enjoyable experience for beginners. By the end, you will feel confident in taking on your plastering project and creating smooth, beautiful walls.
Getting Ready With The Right Tools And Materials
Before starting the plastering process, it is essential to gather the necessary tools and materials. You will need a hawk, trowel, mixing bucket, and a plastering float. These tools help you apply plaster evenly and smoothly.
Select a plaster that suits your wall type, such as ready-mix or powder plaster. Also, ensure the wall is clean and dry before you begin. Any dirt or dust can stop the plaster from sticking well.
How To Mix Plaster Properly
Mixing plaster is one of the most crucial steps in the plastering process. Always follow the instructions on the plaster bag. Use clean water and add it little by little. Avoid making the plaster too runny or too thick.
The right mix should feel smooth and easy to spread. Sometimes, using an extratime plaster retarder helps slow down the drying time. This gives you more time to work with the plaster, especially in warm weather.
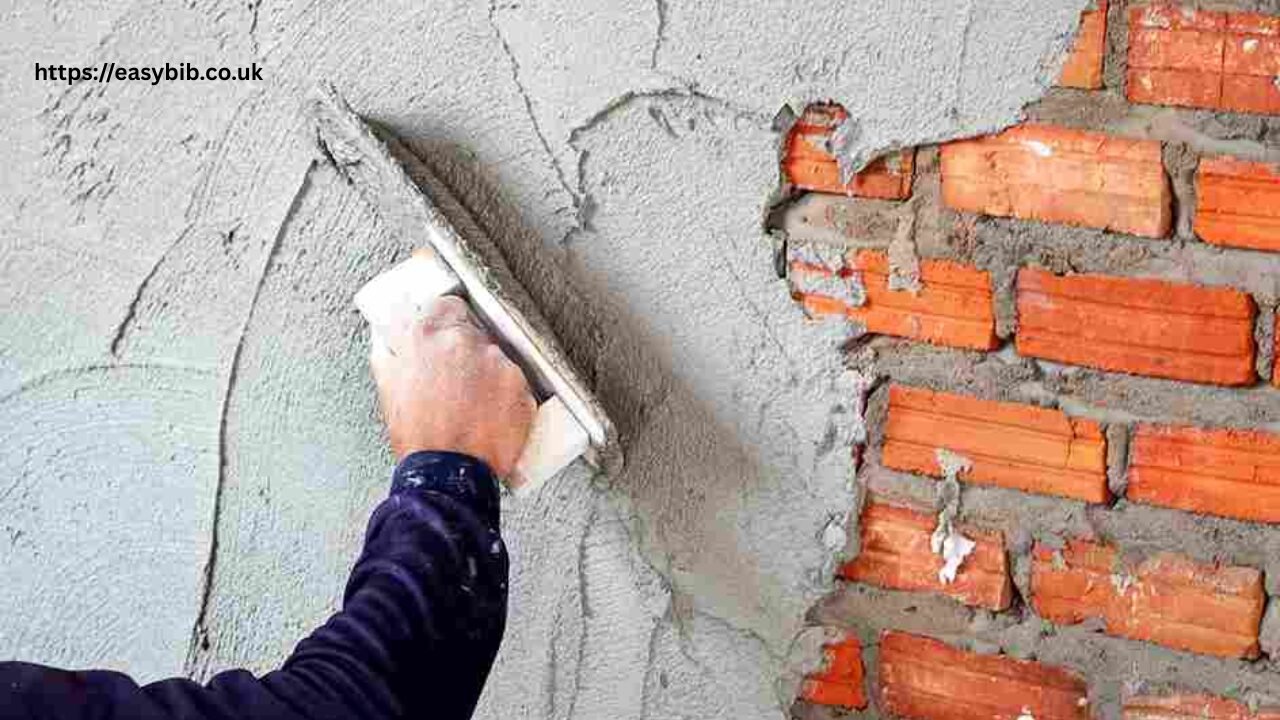
Applying Plaster Step By Step
Start by applying a thin layer of plaster on the wall using your trowel. This first coat is referred to as the “scratch coat.” It helps the next layer stick better.
After the scratch coat has dried slightly, add a second, thicker layer. Use long, even strokes to spread plaster smoothly. Try to keep your movements steady and consistent.
When the plaster starts to harden, use a plastering float to smooth the surface. Work quickly but carefully to avoid bumps and marks. Remember, practice makes perfect, so don’t worry if it takes a few tries to get it right.
Tips To Avoid Common Plastering Mistakes
Many beginners make small mistakes, but these can be corrected if you know what to look out for. Avoid putting plaster on walls that are too wet or dirty.
Also, be careful not to press too hard with your trowel, which can cause uneven patches. If you see bubbles or lumps, smooth them out quickly before the plaster dries. Watching for these signs and fixing them early helps you get a better final result.
Finishing Touches For A Professional Look
Once the plaster is dry, sanding it lightly with fine sandpaper helps smooth out any rough spots. Cleaning the wall surface removes dust and prepares it for painting or wallpaper. If you want, you can also use a sealer to protect the plaster.
Taking these finishing steps ensures your work looks neat and is ready to last for years to come. Remember, patience is key in plastering, and spending time on the details really pays off.
READ MORE
Your New Skill Awaits
Now that you know how to make plastering easier, it’s time to try it yourself. With the right tools and simple steps, you can create smooth walls that look great. Remember to prepare the wall, mix plaster properly, and apply it carefully for the best results.
Plastering is a valuable skill that enhances the appearance of your home and can save you money on future repairs. Did this guide help you? Explore more in this section for helpful guides and tips across different topics.